5 Upcycled Craft Ideas to Do With Your Kids
Turn your trash into treasure by upcycling and keeping little ones busy when school is out with these five fun home projects!
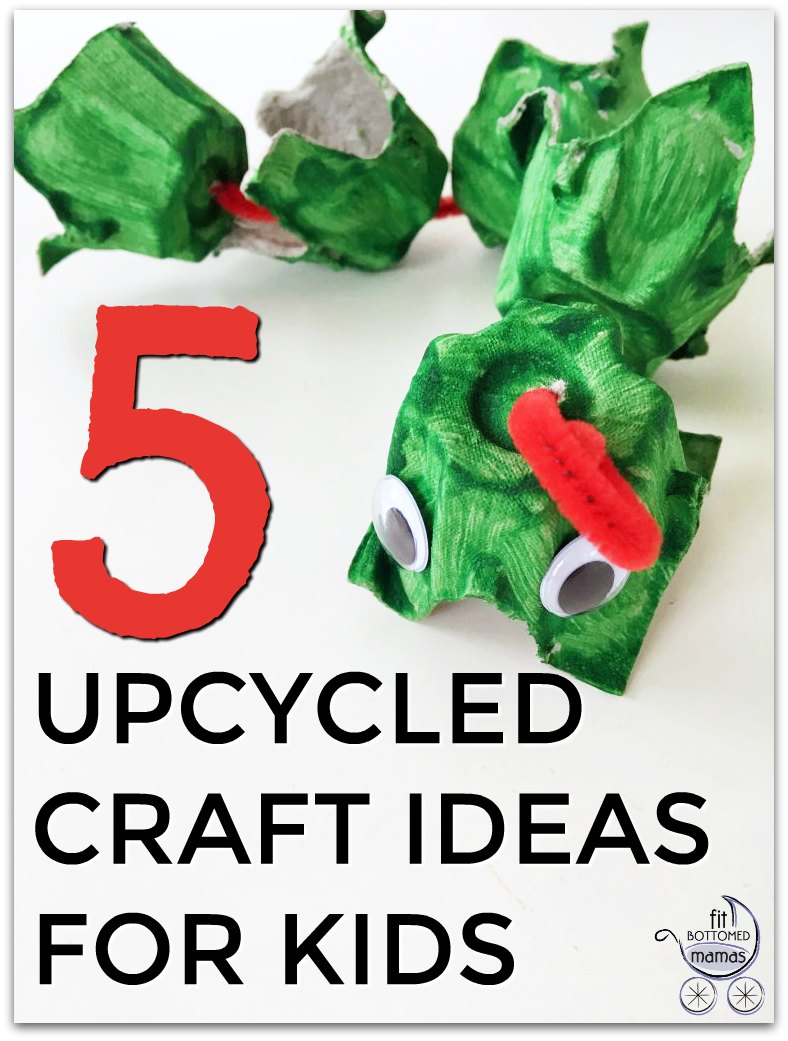
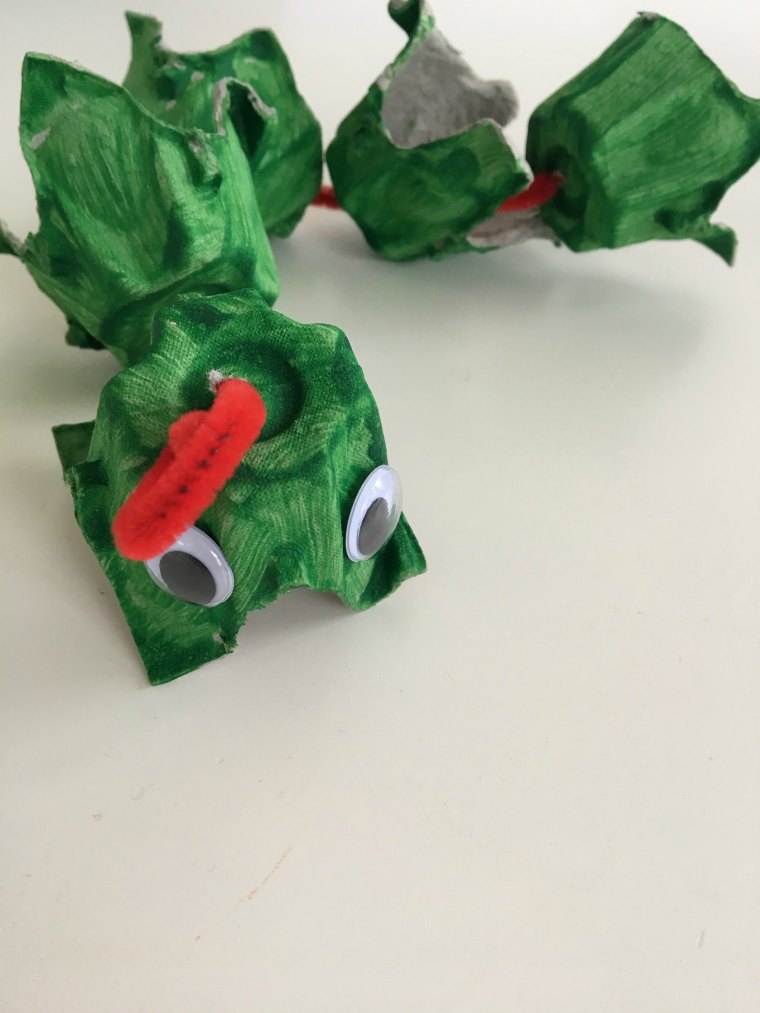
Egg Carton Caterpillar
Materials
Empty egg carton
Scissors
Pipe cleaner(s)
Paint (optional)
Paintbrush (optional)
Paper plate (optional)
Googly eyes or marker
Craft glue or a hot glue gun (optional)
How to Make the Egg Carton Caterpillar
- Start by cutting the egg holes in the egg carton apart. You can use as many or as few as you would like.
- If you would like to paint the caterpillar a certain color or colors, pull out your paper plate, squirt some paint on to it (we used washable paint), take your paintbrush and go to town. Note: This part could get a bit messy, but that’s part of the fun.
- Let the egg carton sit until it’s dry to the touch (the timing will depend based on what type of paint you are using). If you are using googly eyes, glue them on with craft glue or a hot glue gun.
- Take the point of your scissors and punch a small hole at the top of each egg carton piece. Weave the pipe cleaner through the head (the one with the googly eyes). Twirl the end of the pipe cleaner to create antennae to hold the head into place and keep it from slipping off of the pipe cleaner.
- Continue to weave the egg carton pieces onto the pipe cleaner. You can make them as close or far apart as you would like. At the end, knot or twirl the pipe cleaner again to keep them all in place.
- Make an entire family in different colors and enjoy.
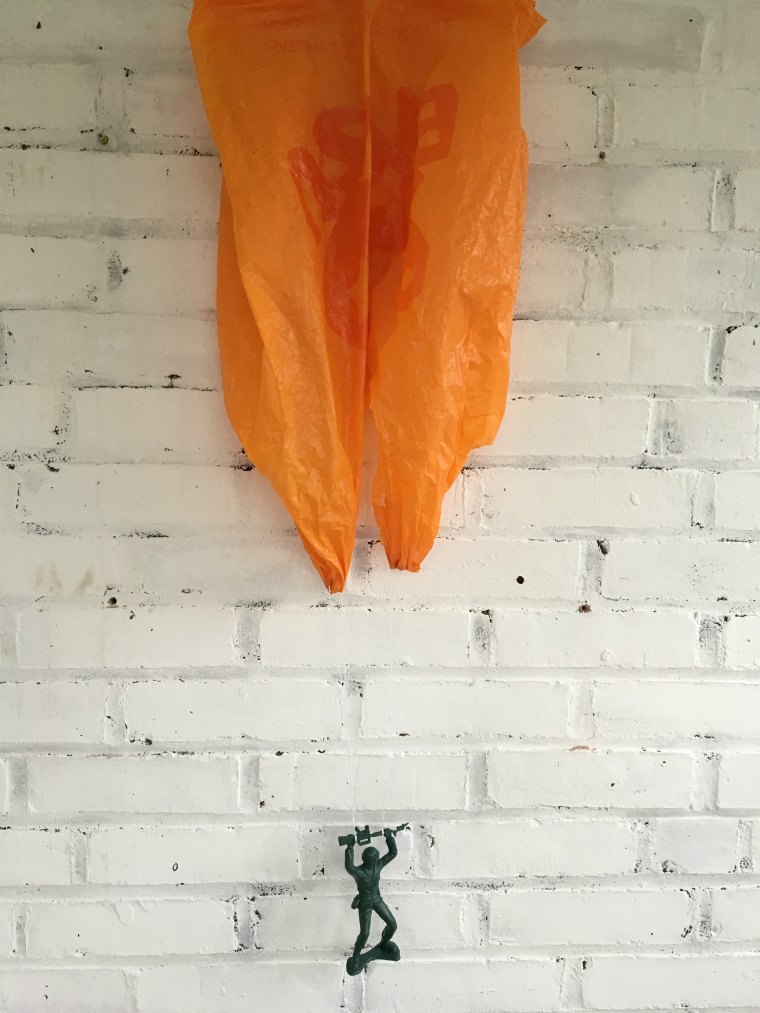
Parachute Guy
Materials
Army guy or other plastic action figure
Plastic bag
String
Scissors
How to Make the Parachute Guy
- Cut two equal pieces of string. Ours measured about 12” each.
- Fold one piece of string in half and secure to one side of the action figure. Tie the loose ends to one of the bag handles. Repeat with the other string on the other side of the action figure and the other bag handle.
- Drop the parachute man from high up and watch him soar.
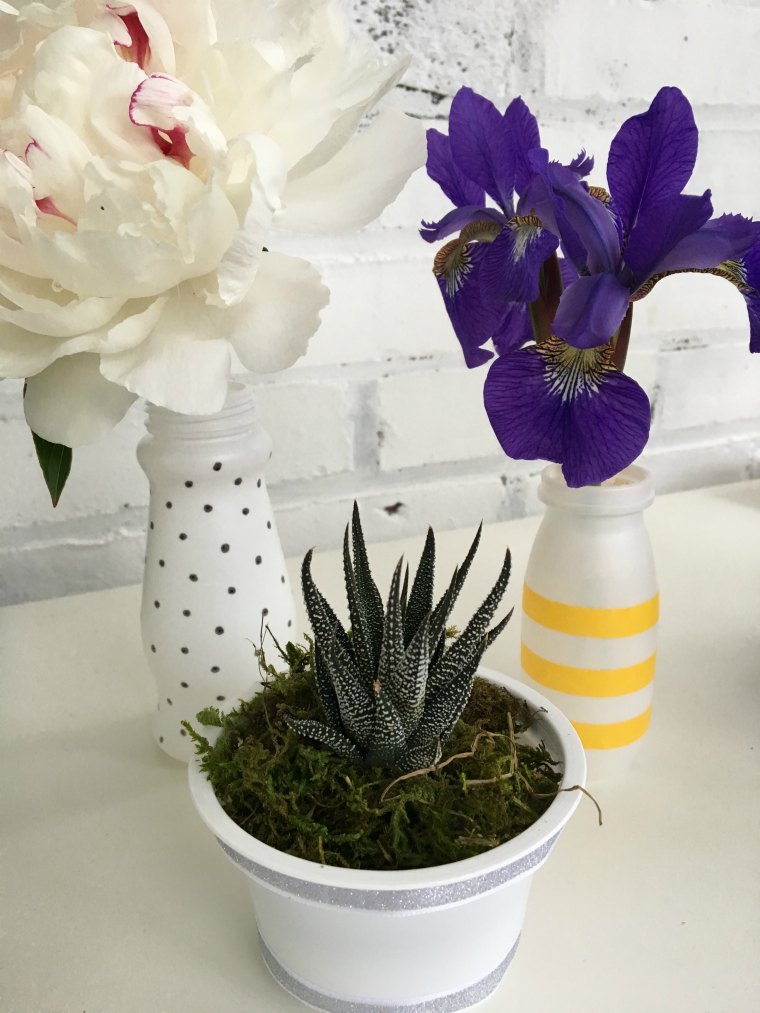
Plastic Planters and Vases
Materials
Various sized plastic containers (yogurt, smoothie cups, etc. — they can be as big or as small as you would like)
Stickers, markers, washi tape, paint, Mod Podge, tissue paper, ribbon, etc.
Potting soil
Small plants or flowers
Imagination — a must!
How to Make the Plastic Planters
- Start by washing out all of the plastic containers you are using. Then determine what type of design you want and what you have on hand to create that design. We used washi tape, a permanent marker, ribbon and hot glue to create our three planters.
- Start decorating. The great thing is that the sky is the limit and if you mess up, you can either take it off, wipe it off or cover it up.
- Add potting soil or water to fill about half the container. If you’re using it as a planter, add the flower or plant next and fill with more potting soil and water. If you’re using it as a vase, just add a freshly cut flower or two.
- Arrange and enjoy!
Binoculars
Materials
2 empty toilet paper rolls
Ribbon, yarn or string
Paper hole punch
Craft glue or hot glue
Paint (optional)
Paintbrush (optional)
Paper plate (optional)
Stickers (optional)
How to Make the Binoculars
- If you would like to paint or decorate the toilet paper rolls, start with that. You can paint them and let them sit until they are dry to the touch and then add stickers — or just move on to step two.
- Take the two toilet paper rolls and glue them together, side by side.
- Take a paper hole punch and make one hole on the side of each roll. Tie the ribbon, yarn or string through these holes.
- Hang around your neck and explore!
Bottle Cap Flowers
Materials
Bottle caps of any size or shape (we used plastic ones from drinks and baby food pouches)
Hot glue
Green pipe cleaners
Paint (optional)
Paintbrush (optional)
Paper plate (optional)
Cardstock paper
Markers (optional)
How to Make the Bottle Cap Flowers
- If you would like to paint any of your bottle caps, do so now. You will need to let them dry overnight and you may want to add more than one coat of paint.
- Take your cardstock and arrange your bottle caps to create a center and “petals.”
- When you’re happy with your flower, glue the bottle caps together on the paper.
- Glue the pipe cleaner on as the stem. You can draw around the flowers you made or leave them as is. Embellish as you see fit.
What’s the coolest upcycling project you’ve done? — Jenn A.