Can Your Own Salsa With These Easy Steps

Salsa ingredients early in the cooking process – this is the start of something SO GOOD!
In the summertime, when I have tomatoes aplenty, I typically don’t eat jarred salsa from the supermarket. It’s so easy (and cheap!) to toss together simple ingredients for a fresh taste.
But in the winter months, those fresh flavors are all but extinct. Sure, there are tomatoes in the grocery store, but it just doesn’t compare to what I can get from my CSA or farmer’s market.
Yesterday, I shared my solution to that problem — a recipe for my big brother’s “Idiot Proof Salsa Recipe.” Though the salsa ingredients are good enough to eat fresh, cooking deepens the flavors of summer vegetables and preps the salsa to be canned … meaning I can have those summery flavors in February.
Canning salsa is pretty simple. Though a lot of websites outline the whole process in great detail, they usually say you absolutely must have a lot of fancy equipment or your salsa will be laced with botulism and you will die (okay, I’m exaggerating … slightly).
Though there are certain steps you need to take in order to make sure your food is processed properly, you don’t need to buy a lot of new equipment. When I canned my first batch of salsa, I only had one large pot in my kitchen and couldn’t afford to buy a canning pot (a fancy and expensive way of saying “large pot”). As soon as I cooked my salsa, I filled my jars, I quickly washed my pot, filled it back up with water, and dropped my jars in for processing. I also only had one set of tongs and a bunch of used jars I got at a rummage sale for 10 cents.
Don’t buy into the (very expensive) hype.
What You Really Need to Can Salsa
- Large pot
- Saucepan
- Glass jars (new or used, clean)
- Lids (always get new lids, even when reusing jars and rings!)
- Rings (new or used, clean)
- Ladle
- Tongs
- Paper towels (or clean cloth towels)
- Your cooked salsa
Prep Work to Can Salsa
It’s important to “work clean” when canning — this keeps bacteria at bay. Before starting, clean your workspace, make sure your utensils are clean and have a roll of paper towels (or clean cloth towels) nearby.
Wash your jars in the dishwasher on the hottest setting possible, and keep the dishwasher closed until you are ready to fill them with salsa. You want the jars to be warm when you fill them.
Place your lids in a saucepan and cover with water. Heat until the water simmers. Do not remove the lids from simmering water until you are ready to use them!
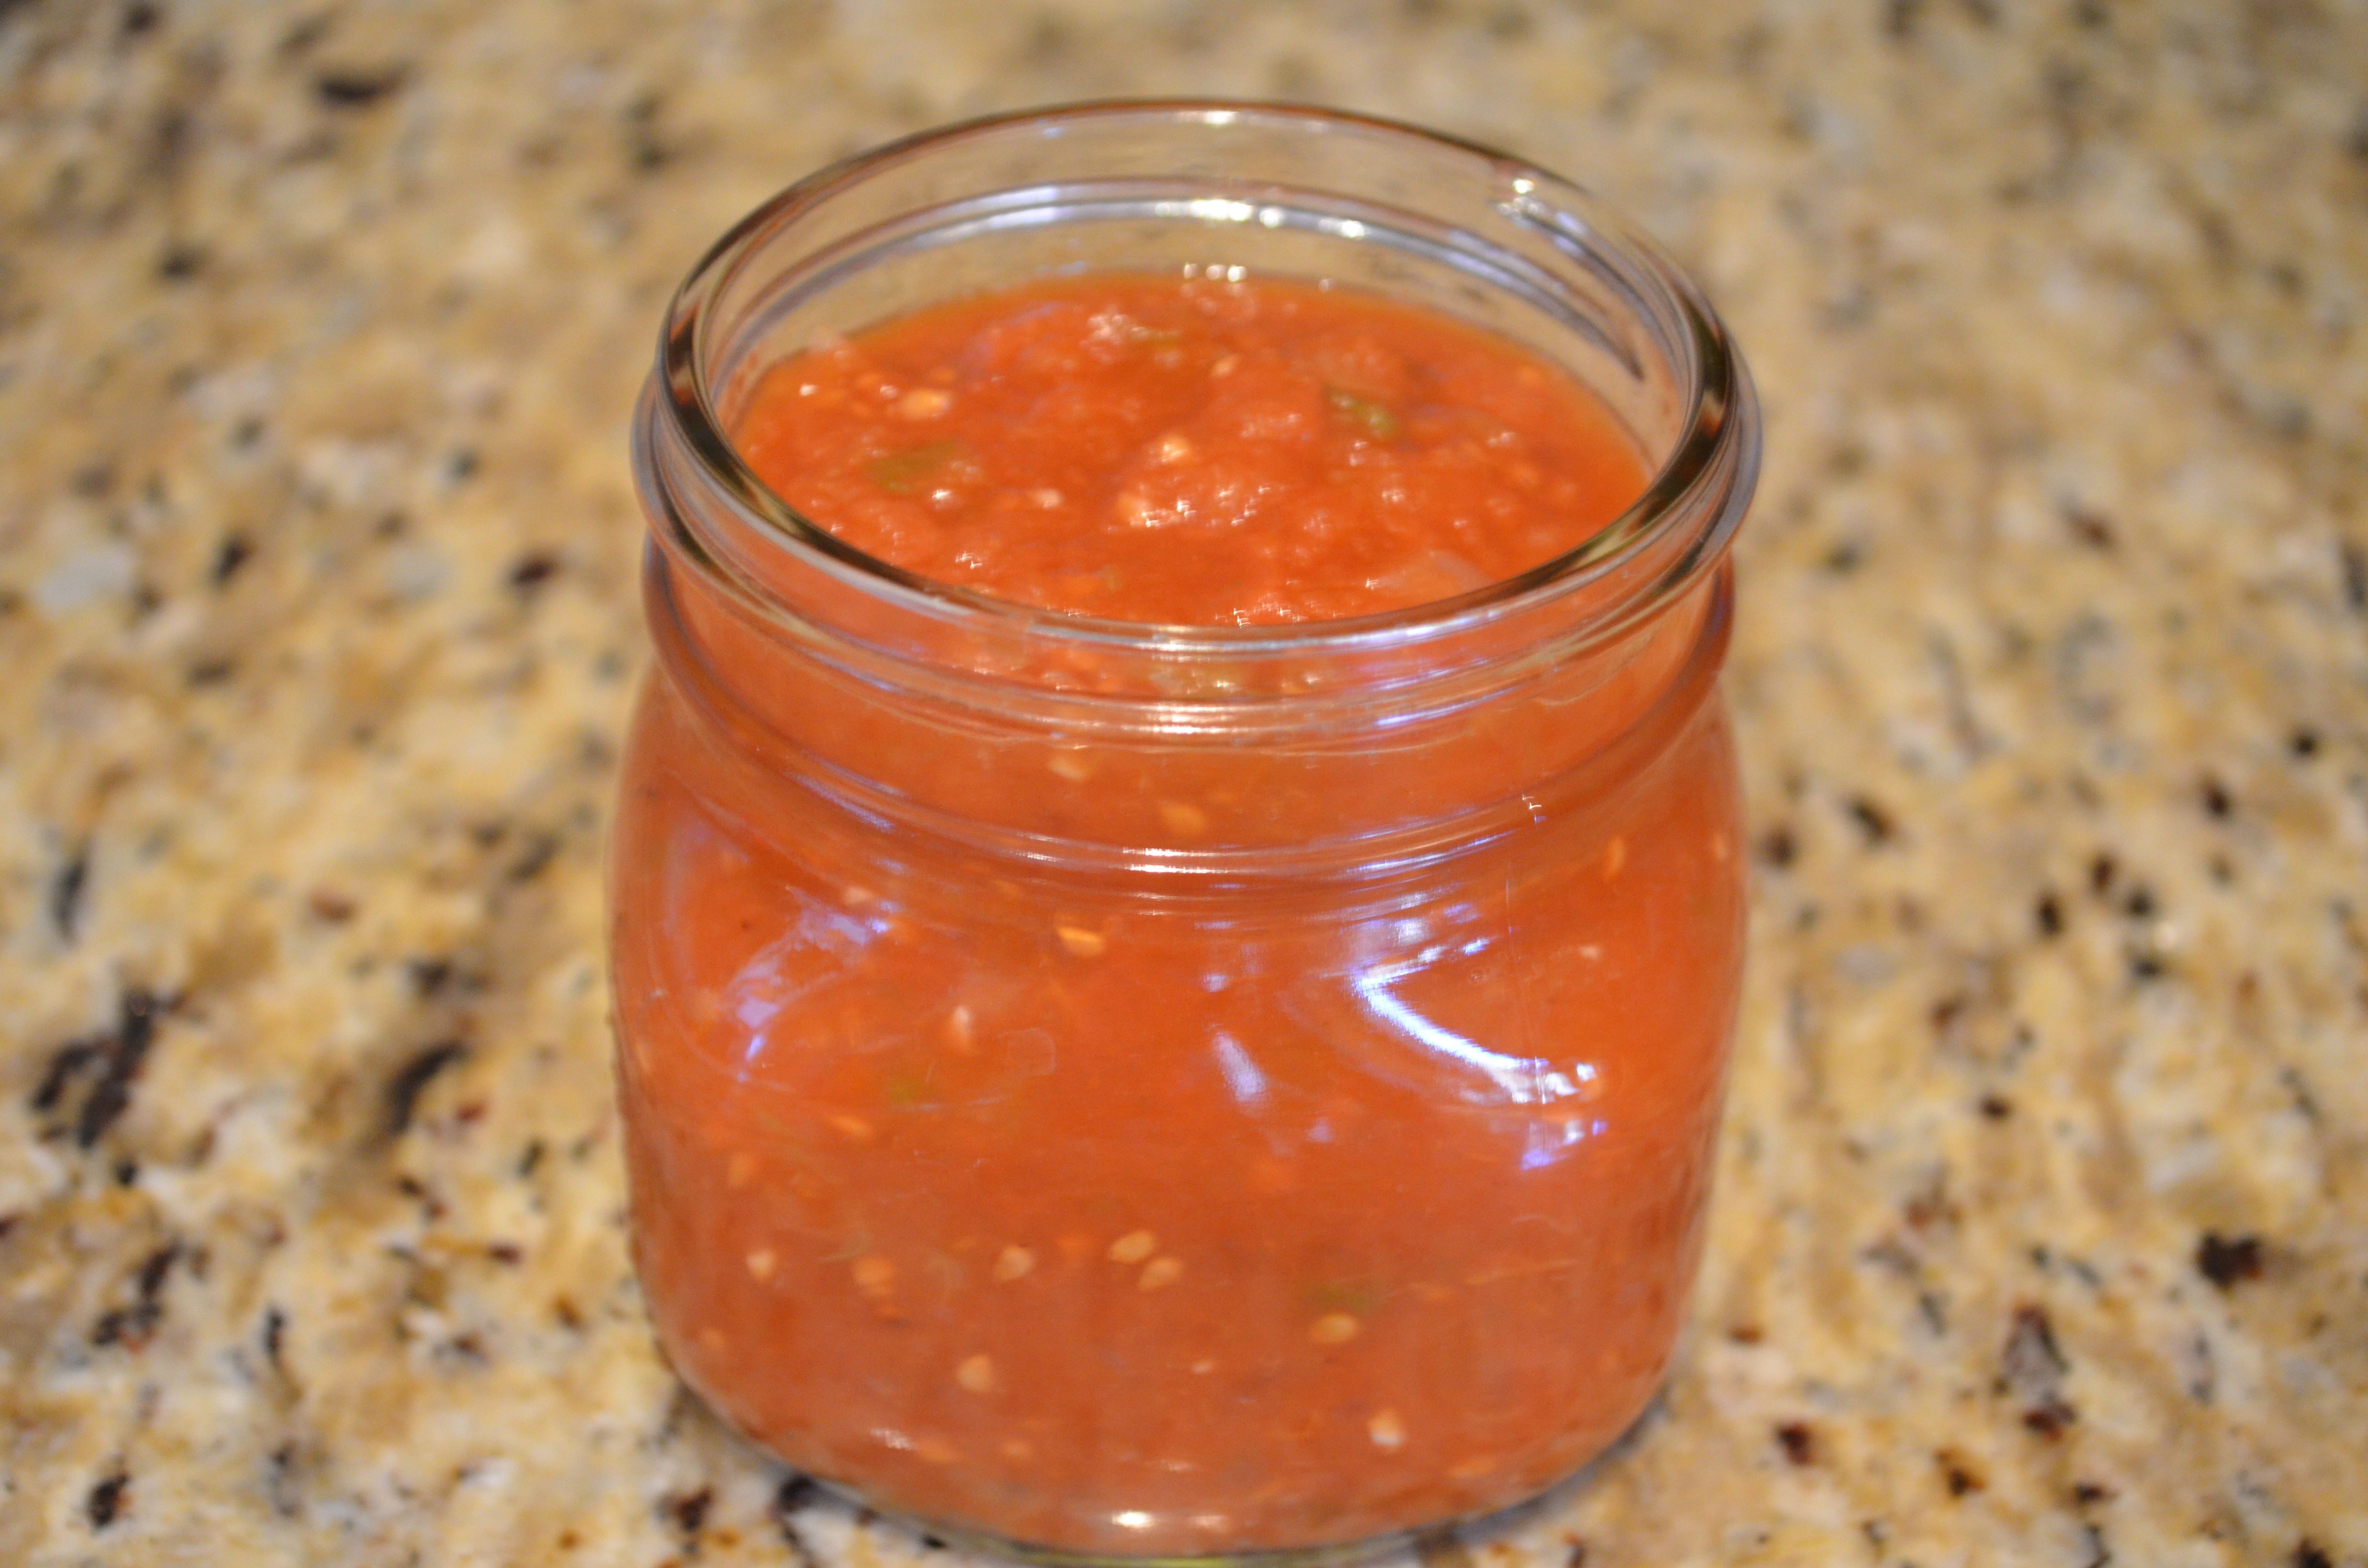
Fill ‘Em Up!
Using a ladle, fill the jars with salsa, leaving a quarter of an inch of space below the rim. Do this carefully — you don’t want to spill salsa on the rim of the jars! If this happens, wipe it off with a clean paper towel before proceeding. Spillage on the rim of the jar can cause a failure in sealing.
You can use a wide-mouth funnel if you wish — this keeps your jars cleaner!

Leave a quarter-inch of space between the salsa and top of the jar!
Top Your Jars
Use your tongs to pick up a lid from the simmering water. With the rubber side down, center a lid on top of each jar, using a clean towel to protect your fingers (remember, the lid is hot!). Screw on a ring to secure the lid top, but don’t over-tighten — you want the ring to be “fingertip tight,” or screwed only until you encounter resistance.

Press down on the lid with a towel, then add the ring to secure.
Process
Place one layer of jars on top of the rack in your large pot. Fill the pot with hot water until the jars are covered. Turn the burner to high heat and bring the water to a boil. Once the water becomes a rolling boil, set a timer for 15 minutes. When the time is up, remove the jars from the water. Repeat until all of your jars have spent 15 minutes in the water bath.

Even canned goods like a hot bath at the end of the day!
A jar lifter (pictured here) comes in handy for this step. But I’ll be honest — the first few batches I made, I lifted the jars out (VERY carefully) with a pair of grill tongs, a slotted spoon and a towel. Do what you gotta do, MacGyver. Just don’t burn yourself.

A jar lifter makes this part of the process much easier!
Seal Your Salsa
After removing the jar from the water, place it upright in an area out of your way. Leave the jars alone for at least 24 hours. Yes, completely alone — don’t wipe the water off them, don’t shake them, don’t press down on the lid — just let them be. As they cool, you’ll hear a popping noise — that means the air has completely left the jar, causing the lid to invert.
Check Your Canned Salsa
After the 24-hour period, press down on the lid. If it moves in any way, whether side-to-side or up and down (making a “popping” sound), your jar did not seal. Put this one in the fridge and eat from it within a week or two.
If the lid is solid, your jar has sealed! Raise your arms in victory and grunt loudly like a cage fighter (I hear that’s what Martha Stewart does).
Remove the ring and wipe down the entire jar and lid with a clean, damp cloth. Dry the jar with a clean towel, then replace and tighten the ring. Use a permanent marker to label the lid with the contents and date. Store your jars in a cool, dry cabinet until you’re ready to crack one open!
Whatcha waiting for? EAT!
Have you canned your own salsa or food before? What tips and tricks have come in handy for you? —Susan